This is the first of what I expect to be a series of posts following along as I build a utility/small equipment trailer from a Harbor Freight trailer kit. I started with the Harbor Freight kit as I’m intending to build the trailer specifically to suit my needs. I also wished to avoid getting something too well used, i.e., in rough shape, that would probably require significant work just to make it really road-worthy. I would like to point out here that I have been looking for a good used trailer for some time, and really didn’t find anything that appealed to me. Frankly I was looking forward to a different type of project anyway, and now I can build a new and relatively inexpensive trailer specifically to meet my needs.
This is a bolt-together kit and all hardware is included, with pretty decent assembly instructions. Though I will initially assemble the kit using the supplied bolts and nylon lock nuts, I’m intending to weld most of the seams. This will prevent rattles and ensure longevity of the finished trailer. I’ll eventually remove the bolts on the top of the frame, otherwise, they will interfere with the decking material I’ll be installing. Welding will also require a complete repaint as the factory paint will have to be ground back to allow for welding and the heat will damage the paint, anyway. This isn’t a big issue for me, as I’m not wild about the red so I’ll be painting it a nice gloss black.
I’m also intending to add outside weld-on stake pockets around the perimeter as I build the trailer so I can add a rack. Though the trailer is supplied with stake pockets internal to the frame, these won’t work for me.
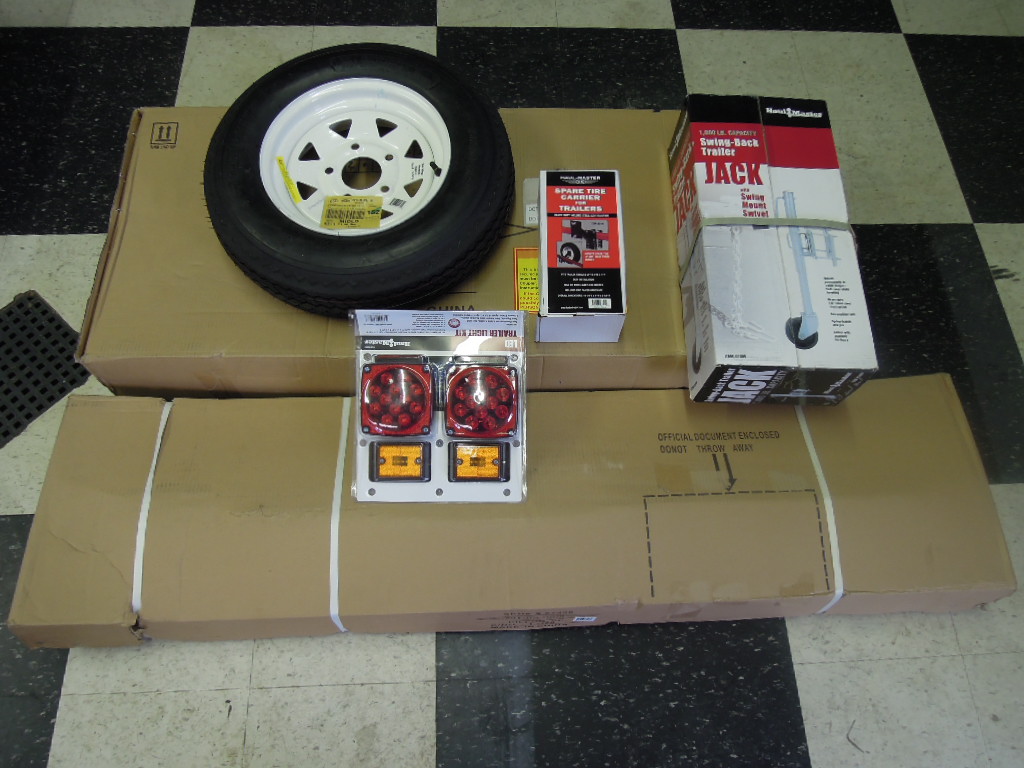
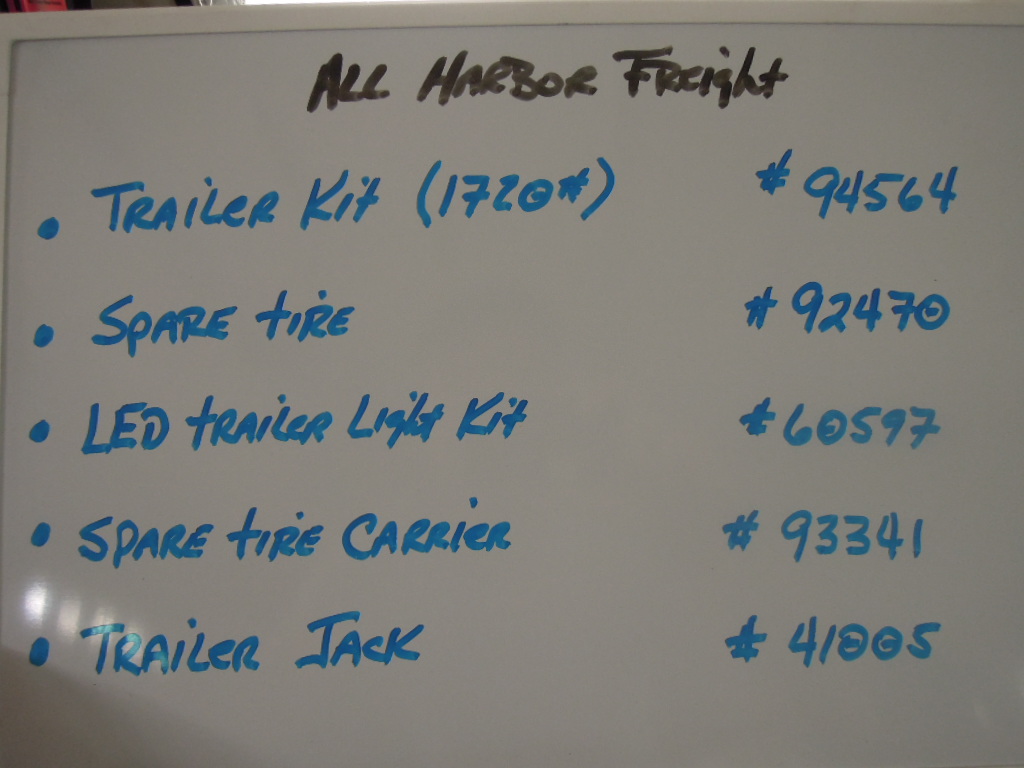
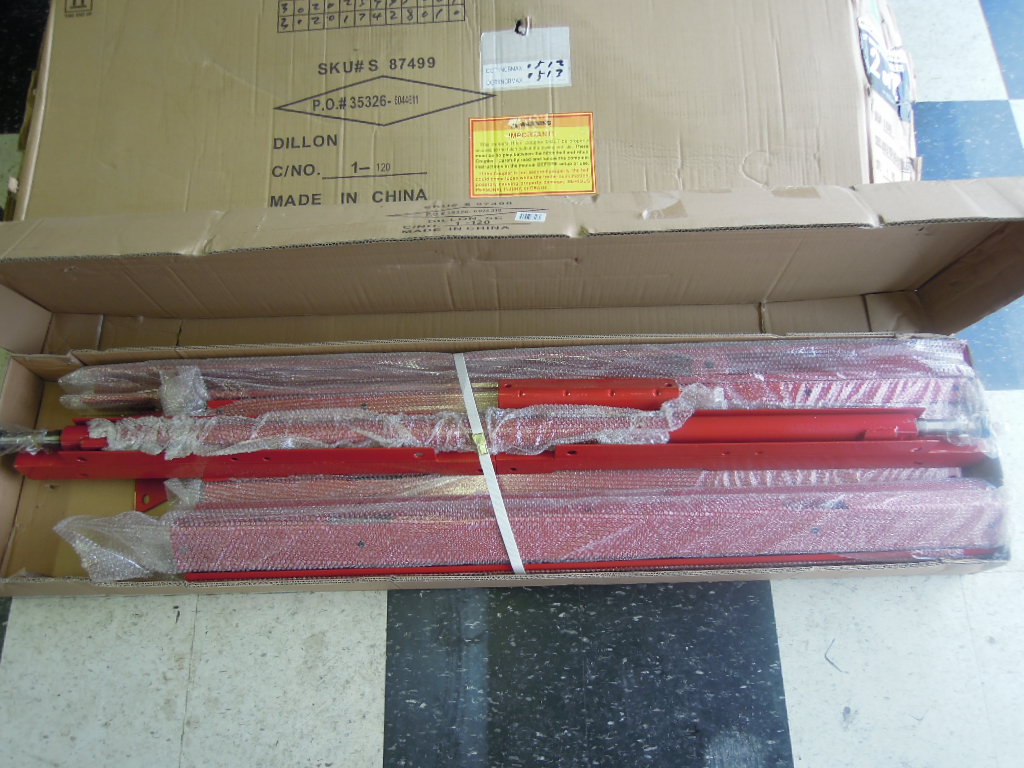
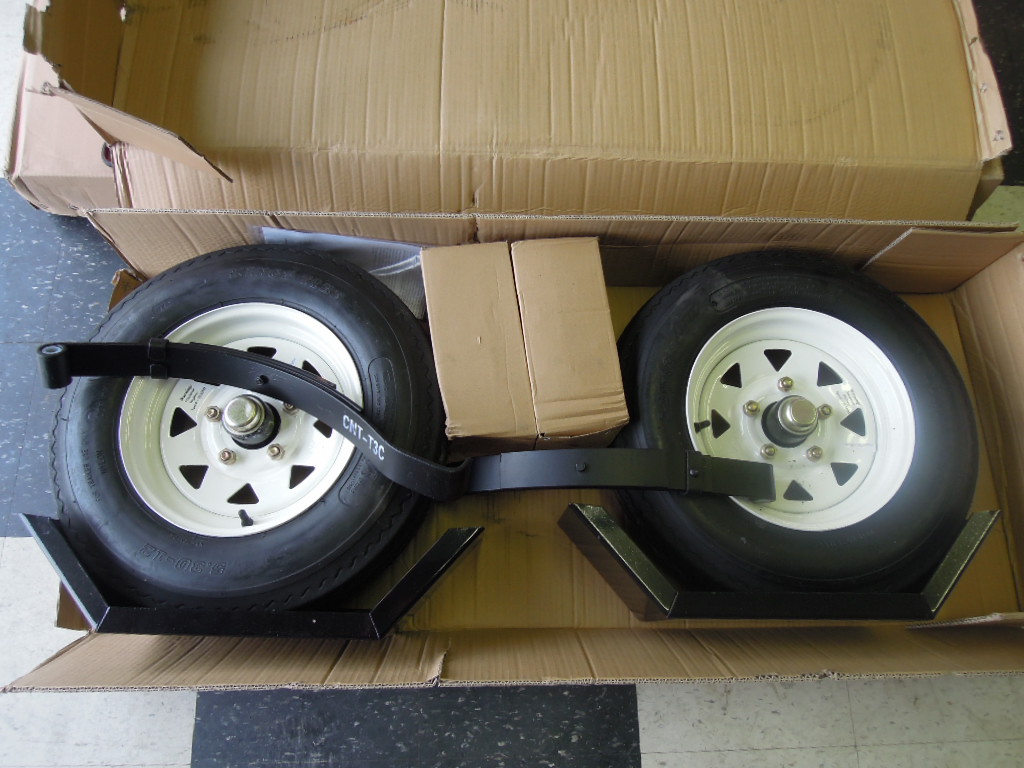
The next three photos feature the trailer kit as I purchased it… in boxes. The last photo shows the Harbor Freight part numbers of the various components. Also note, there’s an embedded YouTube video at the very bottom, for those interested in a more detailed narrative.


